How to set up Python to program on WSL
Get started with cross-platform Python programming by setting up Python on the Windows Subsystem for Linux. Here's how to set up Python for WSL programming.
Python is an easy programming language to learn for beginners. Writing Python code in Windows Subsystem for Linux (WSL) on Windows 10 & 11 is also a simple way to create cross-platform apps.
Why use Python over WSL?
If you have no experience with Linux, it can be difficult to learn a new operating system as well as a new programming language. WSL provides access to Linux tools, including programming tools, in a more familiar environment.
Although Python is a cross-platform language, it was originally developed on operating systems like Unix and many tutorials using Linux/Unix environments. Many of the pre-written scripts you see on the web are also implemented in a similar way.
There is a separate port for Windows but it usually works the Windows way. This makes it difficult to port apps written in Python for Windows to another operating system.
An environment like WSL implements a more Unixy-like programming approach. You can run scripts written by others and vice versa.
Setting up Python on WSL
Many distributions, even on WSL, often use Python as the scripting language which is included in their default systems. Maybe you have Python installed in Debian/Ubuntu, openSUSE or Oracle Linux.
Although Python is usually available by default on Linux distributions, its actual version may differ. Python 3 is currently in active development. However, some systems including Python 2 have backwards compatibility support.
You can check the running version with the -V or --version option :
python -VAlternatively, you can directly call the Python interpreter and check the version number on startup.
If you see any version of Python 2, you have several options. You can select Python 3 using the command line:
python3If you're running Ubuntu or Debian, you can install the python-is-python3 package :
sudo apt install python-is-python3If you are on another system, creating a shell alias is the simplest option to invoke Python 3 at the command line:
alias python="python3"You can put it in a shell startup file, such as .bashrc or .zshrc .
A riskier option is to create a symlink:
sudo ln -s /usr/bin/python /usr/bin/python3This is a risky choice because any system update can clog the symlink. If the system still has Python 2 installed, it will only be replaced with the Python 2 executable. This can affect all scripts on the system.
Start the interpreter on WSL
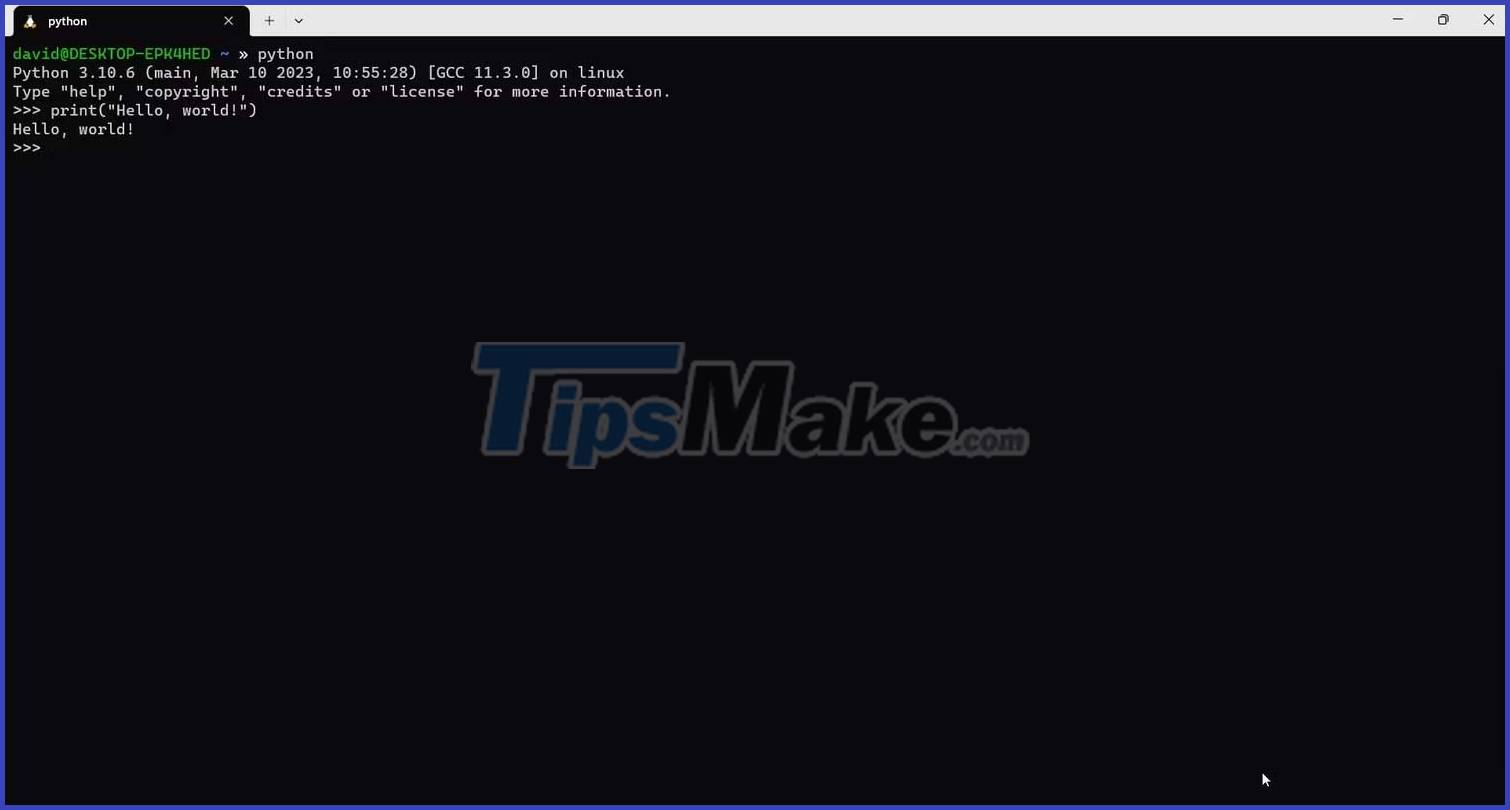
Once you've set up the Python interpreter, you can start launching it. Directly typing in code and seeing what happens is a great way to learn about how Python works.
The way the compiler works is very simple. Like the shell, you will see a prompt for input. After pressing Enter, the Python interpreter will evaluate the code and return the result. You will receive an error message or the result of certain operations.
Basically, we usually get the standard 'Hello, world!' message. on the screen.
The code that does this in Python is pretty simple:
print("Hello, world!")When you're done with the interpreter, press Ctrl + D or type 'exit()' to return to the shell prompt.
Writing Python scripts in WSL
Writing Python scripts in WSL is also simple. All you have to do is invoke the interpreter with the appropriate shebang line at the top of each script:
#!/usr/bin/env pythonThis action calls the env program to run Python whenever it is installed on the system. This is important because Python can be installed in other categories, depending on the distribution or operating system.
You also need to make sure the script has execute permissions:
chmod +x script.pyTo run the script, call it using the command line in the saved directory, prefixing it with ' ./ ' in front:
./script.pyPython on WSL provides an easy way to get started with cross-platform application development. Hope the above guide is useful to you.