Sometimes when you want to stitch photos or crop photos from your favorite photos, you don't want to have to download and install any photo editing software on your computer. If you use Windows, you can use the Paint application installed by default on Windows to edit photos. In addition to drawing, resizing photos, adding text to photos . of Paint, you can use Paint to stitch photos, crop photos quickly. Please refer to the following article.

Here is an article detailing how to stitch photos, cut photos with Paint, invite you to follow.
1. Collage photos with Paint
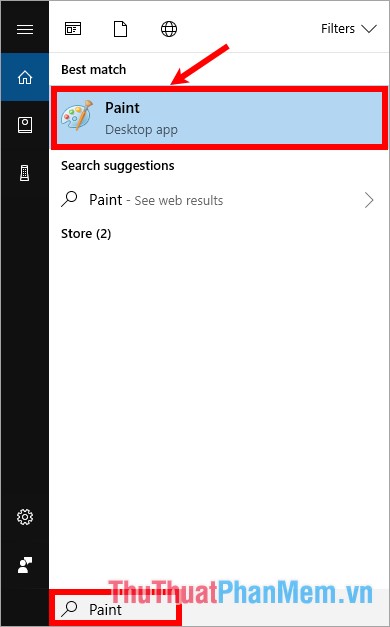
Step 1: Enter the keyword Paint in the search box , then select Paint in the search results box.
Step 2 : Select File -> Open , in the Open window you find the first image to pair and click Open to open the image.

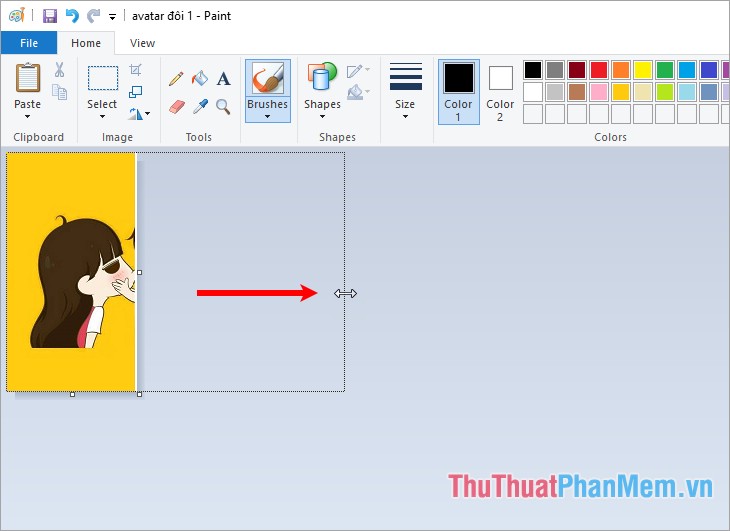
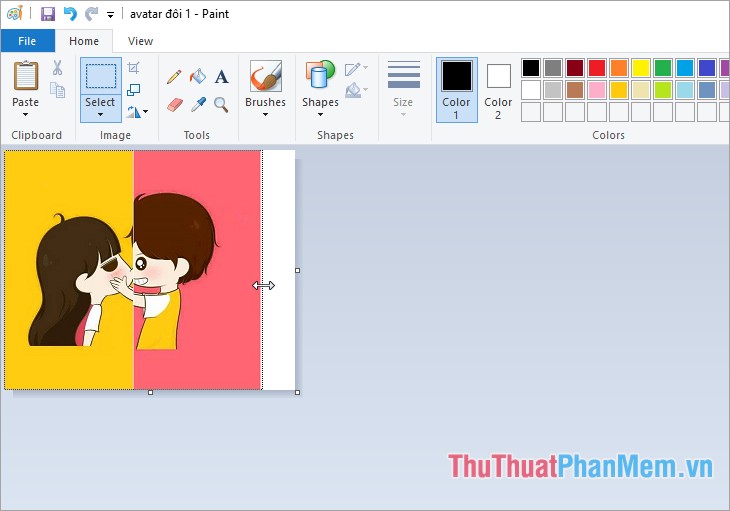
Step 3 : If you want to stitch the image horizontally, then you need to pay attention to the height size so that the next step to edit the photo need to be the 2nd has the same dimensions as the first puzzle, the picture will be more beautiful. You can see the image size under the status bar, for example, the picture below is the height of 480px.

Then you put the mouse pointer on the button to the right of the image, stretching the photo frame to make room for the second image to merge. Depending on the number of images that you expand arbitrarily.
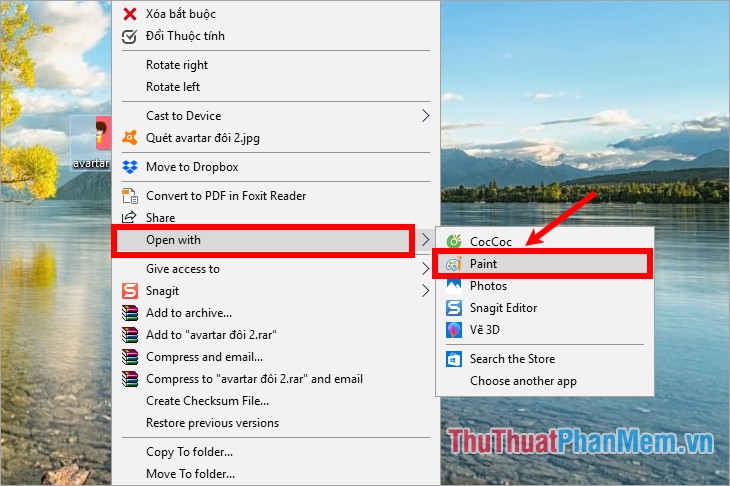
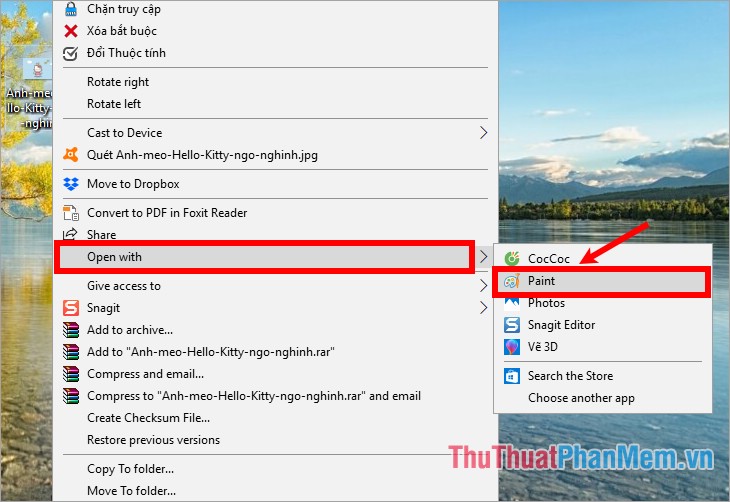
Step 4: Open the second image to pair by right-clicking the image and selecting Open with -> Paint.
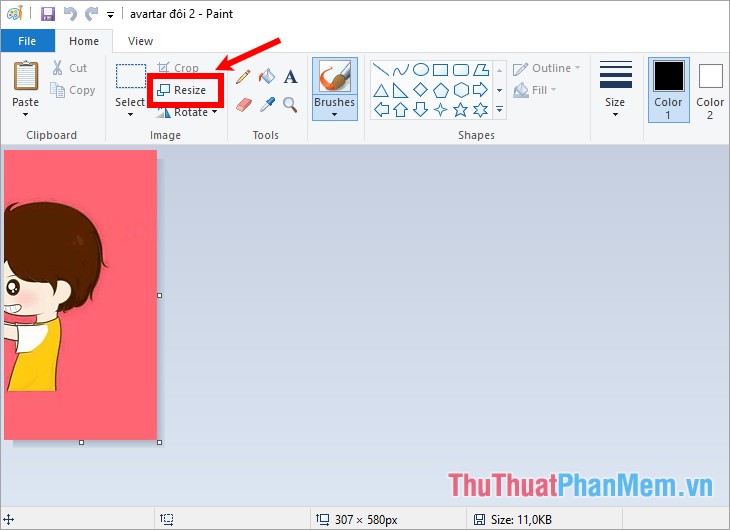
Step 5 : If the height of the second image is equal to the height of the first image, you do not need to adjust the size. If the height size is different then select Resize to resize the second image.
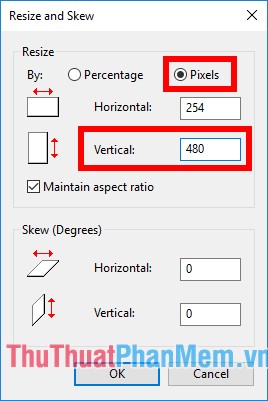
Resize and Skew dialog box appears , select Pixels then enter the size in the Vertical box (height size) is 480px to equal the height of the first image. Click OK to resize the image.
Step 6 : After the height of the second image is equal to the height of the first image, press Ctrl + A to select the entire image, then right-click the image and select Copy .

Step 7: Select the Paint interface containing the first image, press Ctrl + V to paste the second image. Then you click and hold the image just pasted and drag to the next white position to stitch photos together.

You can combine many other similar images, if the horizontal space is still left, then you press the knob and drag it to close the final image.
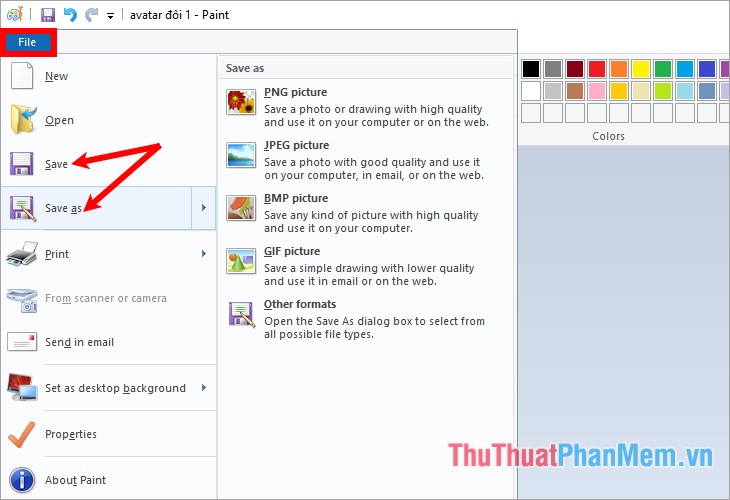
Step 8: Save the image
Click File -> Save (or Ctrl + S ) to save the collage image to the original image. If you want to save the collage into a new image, keep the original image, then choose File -> Save As ( F12 key ).

2. Cut the image with Paint
Step 1 : Open the image to cut with Paint.
Right-click on the image to cut -> Open with -> Paint.
Step 2: You can crop the image in two ways to select the image area that Paint provides: Rectangular selection ( rectangular selection ), Free-form selection (free selection).
Method 1: Crop the image according to the rectangular selection
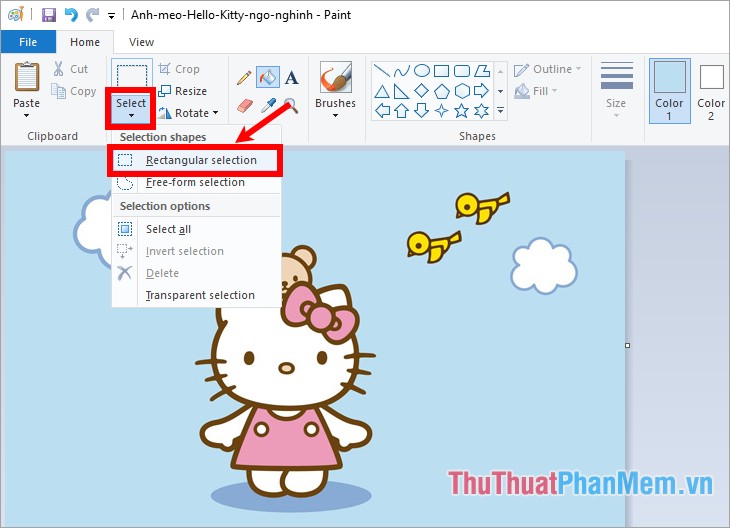
In the Home tab , select Select -> Rectangular selection to choose how to select the rectangular area.
Next on the image, hold down the mouse from the start of the area to be cropped and drag to the end of the cut, so the area you need to cut is the rectangular area you have just selected. Then click Crop to crop the image.
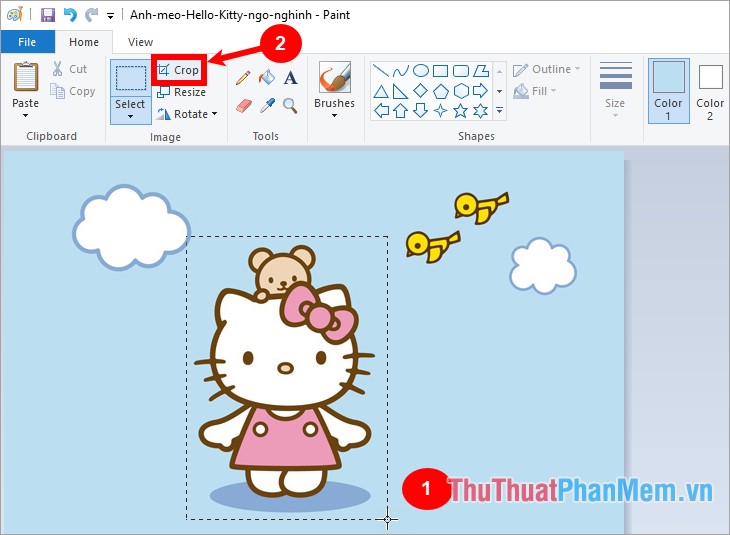
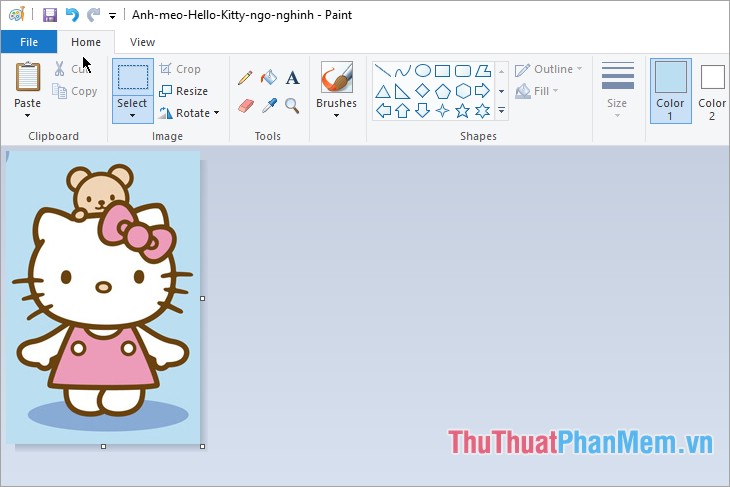
This will give you the cut image.
Method 2: Crop the image according to the free selection
Select Home -> Select -> Free-form selection to select a free-range selection .
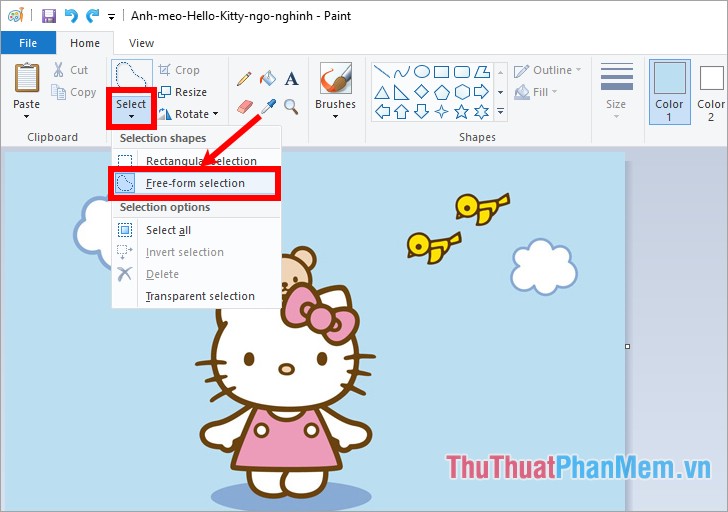
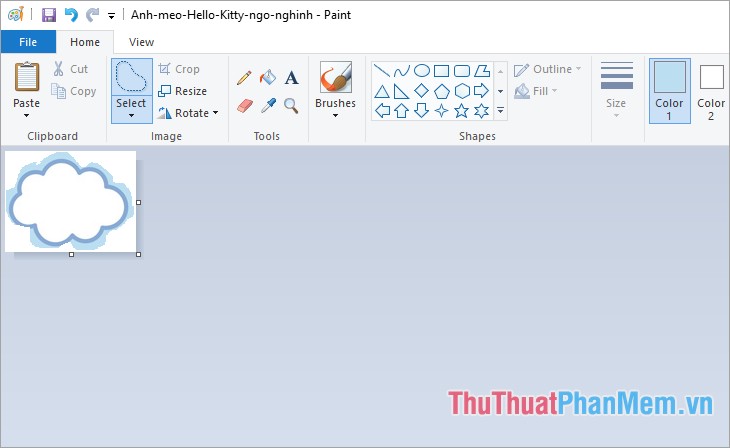
Next, hold down the mouse from the first position to cut, then draw around the object you want to cut then click Crop to crop the image.
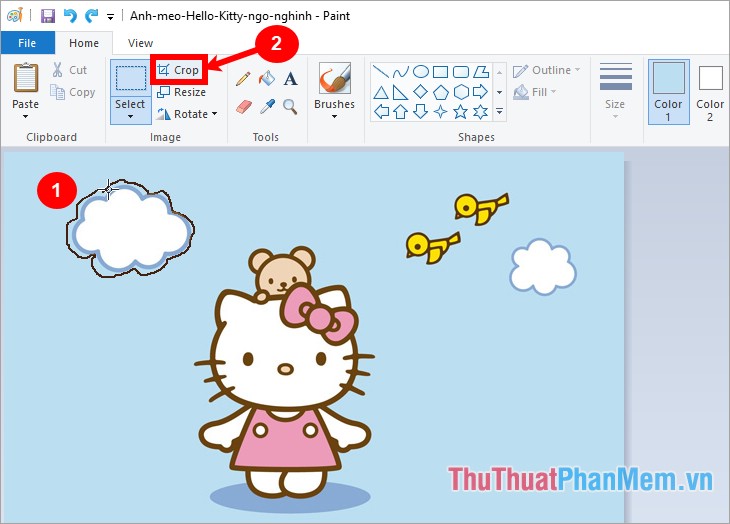
Your results will be as follows:
In addition, you can use the knobs in the lower corner, or in the middle of the right edge, the bottom edge of the image to crop, then rotate the image and cut at the remaining edges. But that method takes more time than the above way, so you only need to know the two ways to crop the image above.
Step 3: Save the image
To save the cropped image, you also have two options for saving, select File -> Save (Ctrl + S) to save over the original image. Select File -> Save As ( F12 ) to save the new image.
Thus, the article has detailed instructions for you how to stitch photos, cut photos with Paint very simple and easy to manipulate. From now on, you can join any photo or crop any photo using the built-in Paint application of Windows. In addition, if you want to learn more about the functions of Paint, you can refer to the article for detailed and complete instructions on how to use Paint.
Good luck!