How to turn off Checkbox on File Explorer Windows 11
In Windows 11, File Explorer will display checkboxes (Checkboxes) just to the left or above the file and folder icons whenever the user clicks on them by default.
This is a relatively handy feature, especially for devices with touch screens, allowing you to see which items have been selected, as well as quickly select between them.
However, if you want a cleaner interface and don't need this feature, it can be easily turned off with just a few simple taps.
Disable Checkbox on File Explorer Windows 11
First, open File Explorer on your Windows 11 PC. Do this by clicking once on the File Explorer shortcut in the taskbar at the bottom of the screen. Or you can also right-click the Start button on the taskbar and select 'File Explorer' in the menu that appears.

After the File Explorer window opens, click the 'View' button on the toolbar at the top.

In the 'View' menu that appears, select 'Show', then click the 'Item Check Boxes' option to remove the checkmark next to it.

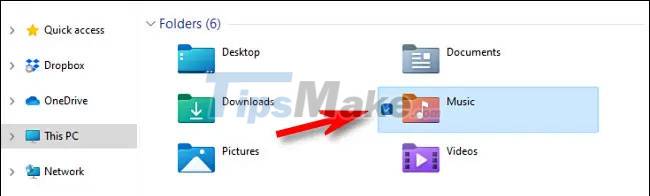
It's all simply that. From now on, whenever you click to select a file or folder in File Explorer as well as on the desktop, you will no longer see a checkmark next to them.
In case you change your mind, just go back to the View > Show menu in File Explorer and put a tick next to 'Item Check Boxes'.
 Marvin Fry
- 5 best Windows File Explorer extensions to manage files on the system
- 9 ways to enable File Explorer in Windows 10
- How to fix Working On It on File Explorer Windows 10
- How to turn on Dark Theme for File Explorer on Windows 10
- Steps to fix slow Windows File Explorer
- Summary of ways to open File Explorer on Windows 11