How to upgrade to Windows 11 22H2 on unsupported hardware
If you installed Windows 11 on unsupported hardware, the upgrade process will be very difficult. When you try to search for an update, Windows 11 shows everything as up to date and has no option to install version 22H2.
While you can use an ISO-based clean install method, the upgrade process allows you to install the latest version without deleting your apps and other data. Here's how to upgrade to Windows 11 22H2 on unsupported hardware using the Windows 11 installation file.
Windows 11 runs a hardware compatibility check during the upgrade process. To perform the upgrade successfully, you will need to perform this hardware compatibility assessment. To do this, we will replace the examineress.dll file in the Windows 11 ISO with the examineress.dll file from the Windows 10 ISO.
If you have Windows 11 22H2 and Windows 10 ISO available, skip to the third step below. If not, follow all the steps to download the required ISOs and then perform the upgrade.
While these steps shouldn't cause any problems, you're better off creating a backup of any important Windows 11 data on your system drive in case something goes wrong and needs to be done with the installation. clean set.
1. Download Windows 11 22H2 ISO

You can legally download the Windows 11 ISO directly from Microsoft's servers or using the Media Creation Tool. This tutorial will use the Media Creation Tool to download the ISO image file.
1. Go to the Microsoft Software Download page.
2. Click Download Now under Create Windows 11 Installation Media .
3. Run the mediacreationtool.exe file and accept the license terms.
4. Review the selected language and edition. To change the language, uncheck Use the recommended options for this PC and choose your preferred language.
5. Click Next.
6. Select the ISO file option in the Choose which media to use dialog box .
7. Select a download location and click Save. Make sure the selected partition has enough free space.
8. Media Creation Tool will start downloading the ISO to your local drive. This process may take some time, depending on the Internet connection. So wait for the download to complete.
9. When the download is complete, click Finish and follow the next step to download the Windows 10 ISO.
2. Download Windows 10 ISO

You will need to modify the Windows 11 ISO by replacing the appraiseress.dll file with a version available in the Windows 10 ISO. This DLL file is responsible for performing hardware checks during the upgrade process.
To download Windows 10 ISO:
1. Go to the Windows 10 download page.
2. Click the Download Now button under Create Windows 10 installation media .
3. Run the mediacreationtool.exe file to open the Windows 10 Setup dialog box.
4. Click Accept.
5. In the What do you want to do screen , select Create installation media and click Next.
6. Check that the language, edition, and architecture options are set correctly. If not, click Use the recommended options for this device and set your options.
7. Next, select the ISO file option and click Next.
8. Select a download location and click Save.
9. The download may take a few minutes to complete. So wait for the process to complete and click Finish once done.
Once you have saved both ISO files, follow the next step to extract and modify the Windows 11 ISO.
3. Modify Windows 11 ISO to bypass hardware check during upgrade
The following steps involve extracting the Windows 10 ISO and copying the examineress.dll file. Next, move the copied DLL file to the source folder of the Windows 11 ISO. Here's how to do it.
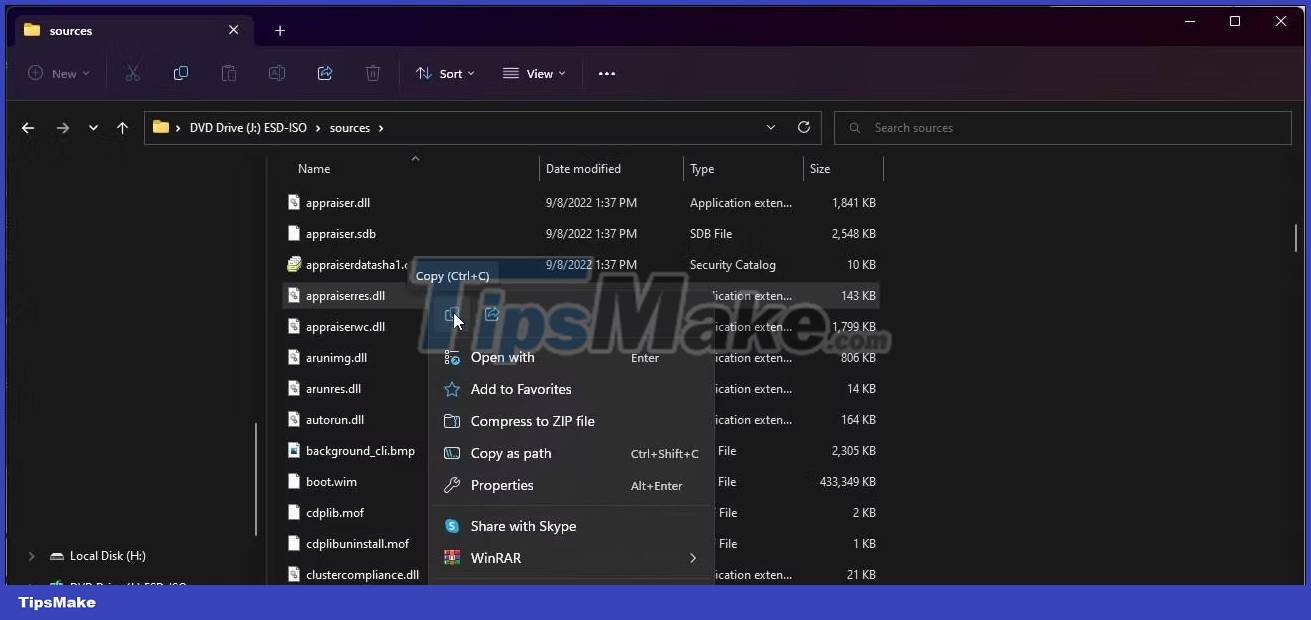
1. Right-click the Windows 10 ISO file and select Mount. This will create a new virtual DVD drive and open the ISO folder.

2. Open the Sources folder and locate the appraiserres.dll file. Copy the DLL file and move it to another folder.
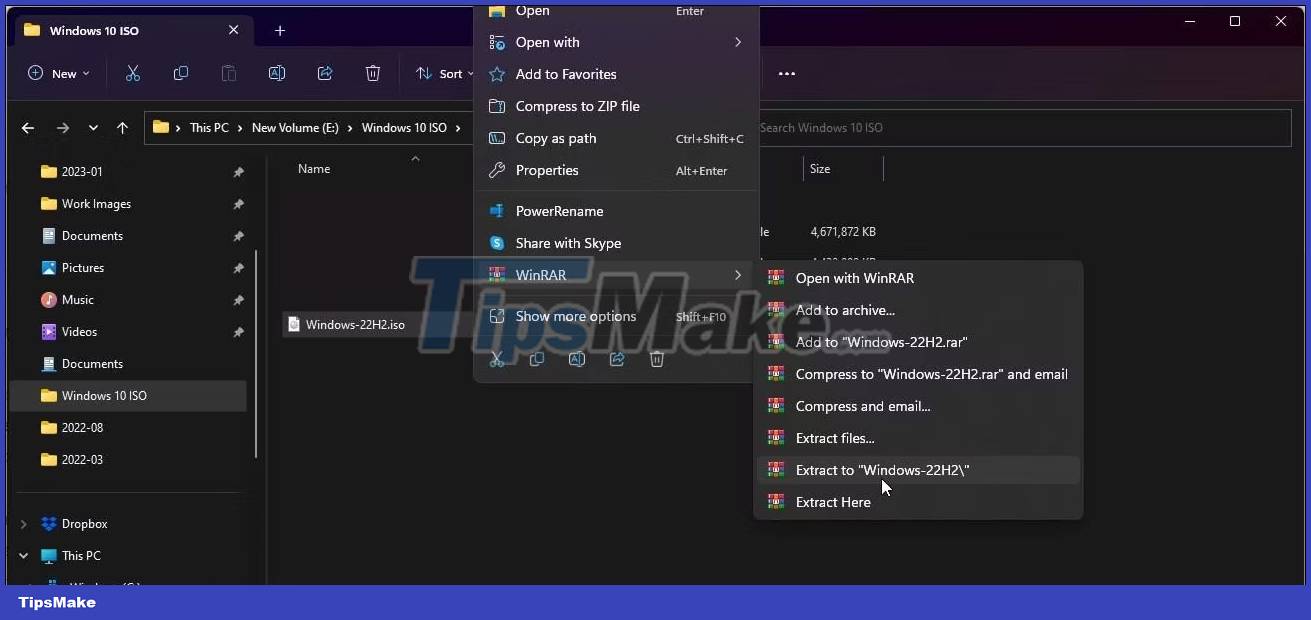
3. Next, extract the Windows 11 ISO to another folder. You can use WinRAR to extract ISO files of Windows 11.
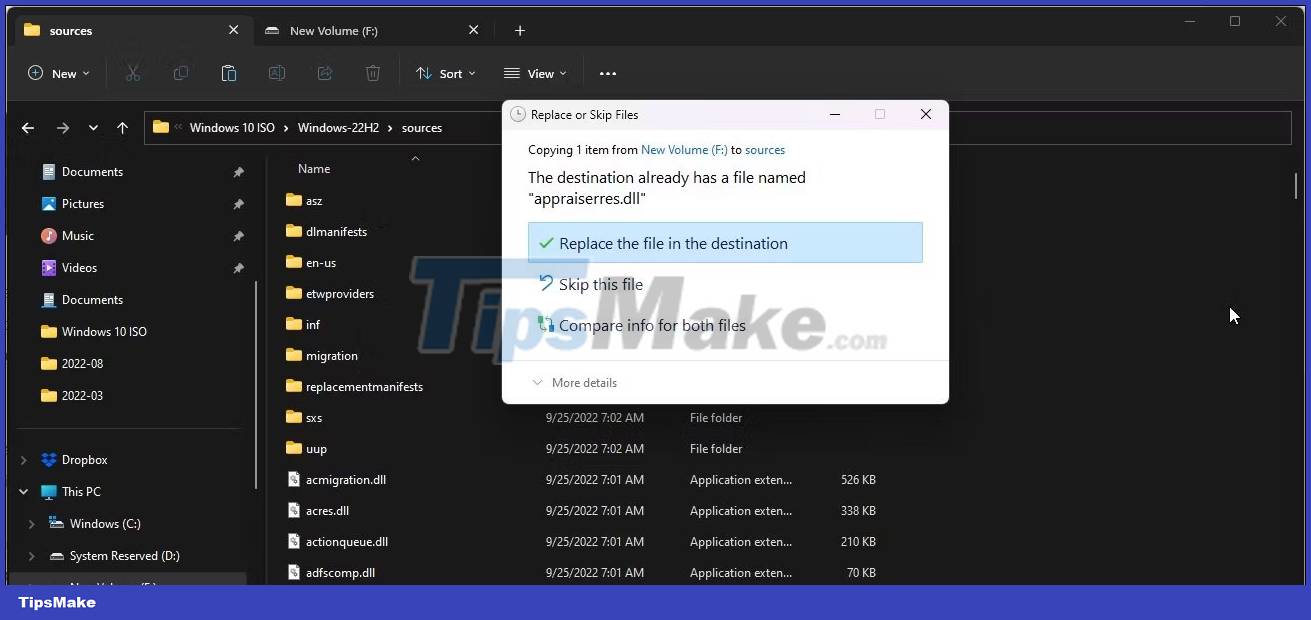
4. Open the extracted folder of the Windows 11 ISO and then the Sources folder.
5. Next, copy and paste the examinerres.dll file copied from the Windows 10 ISO into the Sources folder of the Windows 11 ISO.
6. Select Replace the file in the destination to confirm the action.
7. Next, disconnect your PC from the Internet. This prevents the setup from downloading update files during installation and overwriting the modified dll file.
8. With the Internet turned off, open the extracted Windows 11 ISO folder and double-click the Setup file . Click Yes if prompted by UAC.
9. In the Windows 11 Setup dialog box , click Change how Setup downloads updates .
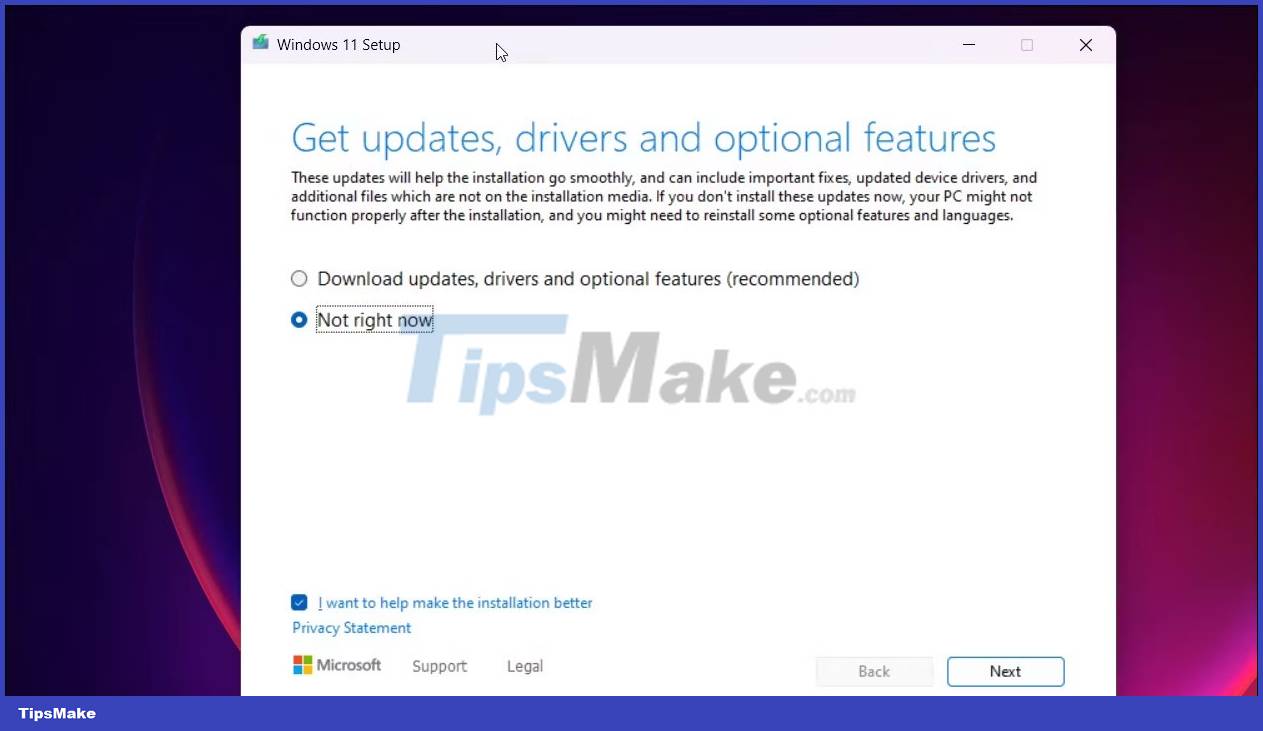
10. Next, select Note right now . This will prevent Windows setup from finding and installing newer updates causing the upgrade to fail on unsupported hardware.

11. In the Choose what to keep screen , select Keep personal files and apps .
12. Click Next and then click Accept.

13. Next, click Install to install Windows 11 version 22H2 while keeping your personal apps and files.
14. Leave your computer idle until the installation is complete. After rebooting, you should have the latest Windows 11 22H2 running on your computer.
To check your Windows specs:
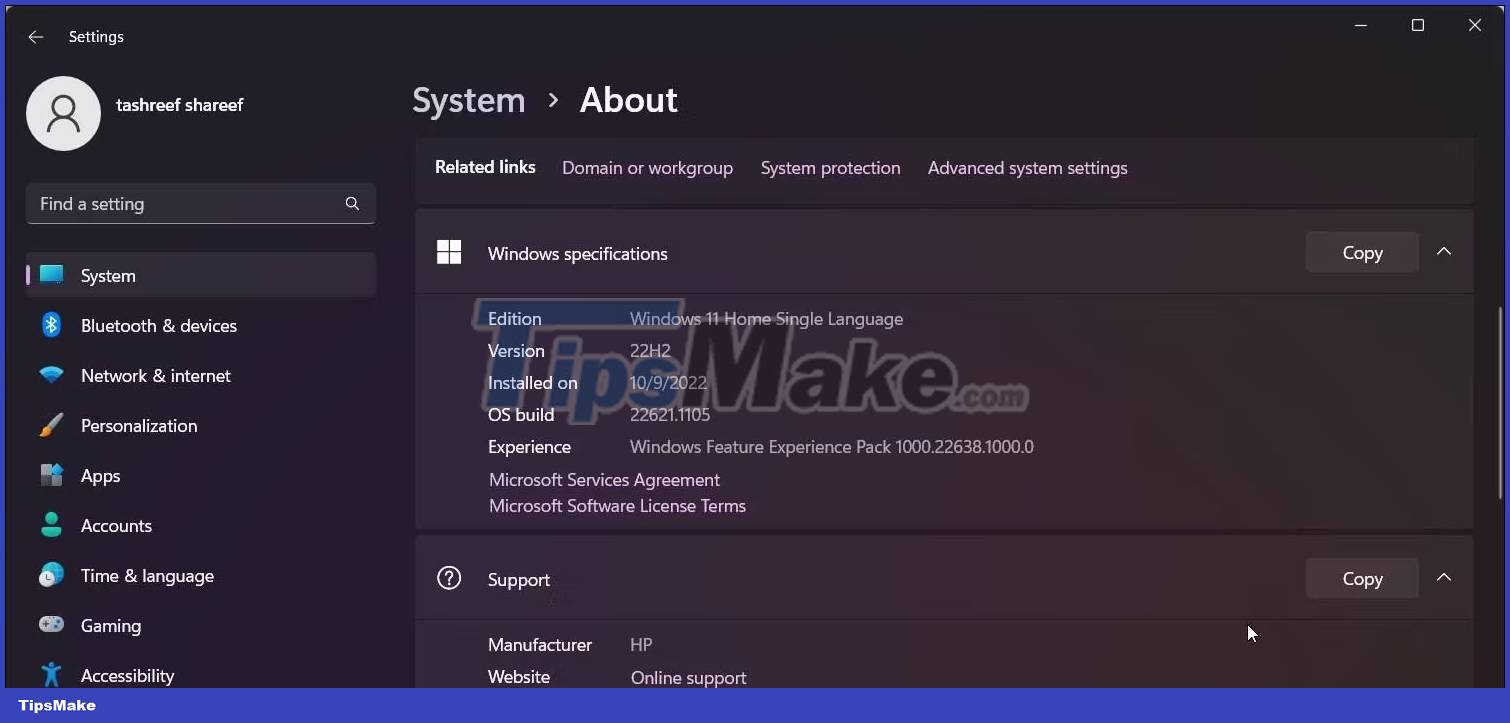
- Press Win + I to .
- In the System tab , scroll down and click About.
- In the Windows specs, you should see Version 22H2 if the upgrade was successful.
4. Go back to previous version

If you have problems after upgrading, you can use the Go back option to undo the update and restore an earlier version of Windows 11. However, the Go back option is only available for 7 days from the date of installation. upgrade. Then the option will be grayed out.
To roll back to a previous version:
1. Press Win + I to open Settings.
2. In the System tab , scroll down and click Recovery.
3. Click Go back under Recovery options. Then, follow the onscreen instructions to uninstall the Windows 22H2 update.
 Samuel Daniel
- Windows 11 22H2 update information was unexpectedly revealed in a leaked Insider script
- Microsoft accidentally confirmed the Windows 10 22H2 update (Build19045)
- Microsoft invites Windows 11 updates on unsupported PCs
- How to Multitask Better with Windows 11's File Explorer 22H2
- Windows 11 is about to add a pretty useful malware prevention feature
- Instructions for upgrading from Windows 10 32-bit to 64-bit