How to set up always opening applications with admin rights on Windows 11
Similar to other versions of Windows, on Windows 11, you will sometimes need to launch programs and applications with elevated privileges to perform a certain task as an administrator (admin) of Windows. system.
If your work requirements keep you constantly opening an application as an administrator, you can set this up to happen automatically, instead of having to open it manually as usual. This article will show you how to set up always opening applications with admin rights on Windows 11.
Set to always open applications with admin rights on Windows 11
First, you need to find the executable file (.exe file) of the application you want to set up to always open with elevated privileges. This can be a file in File Explorer, or it can be a shortcut on the desktop.
Once you have located this file, right click on it to bring up the context menu. Next, click on the 'Properties' item, or just press Alt + Enter.
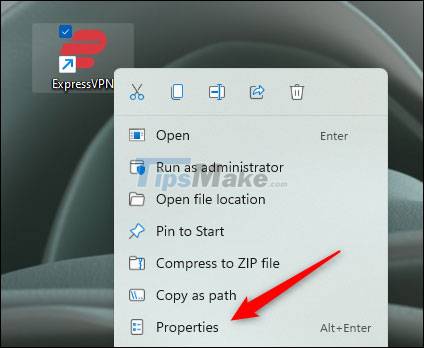
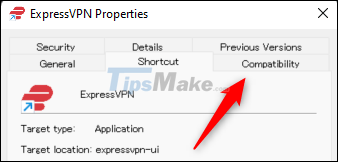
The application properties menu will appear. If you open the application's properties menu from an EXE file in File Explorer, you'll be in the General tab. In case you opened it from a desktop shortcut, you will be in the shortcut tab.
Regardless of which tab you are on, click to switch to the 'Compatibility' tab.
In the list of installation options in the Compatibility tab, check the box next to the 'Run this Program as an Administrator' option, click 'Apply' to apply this new option, then click 'OK' ' to close the window.

From now on, this app will always open with admin rights by default.
Repeat the above process with any other apps you want. Hope you are succesful.
 Micah Soto
- How to assign Administrator permissions on a Windows 7 computer?
- How to grant Admin rights to a User in Win 10
- How to open Notepad with admin rights
- 4 ways to run the software using administrative rights in Windows
- You can gain admin rights of Windows 10 just by plugging in a Razer mouse
- How to open the hosts file with Admin rights - Apply to open the file system